Introduction
This guide will walk you through adding Google Pay™ to your website and accepting payments using Moyasar.
Before Starting
Check the following key resources from Google Pay™:
- Web Developer Documentation: https://developers.google.com/pay/api/web/overview
- Web Integration Checklist: https://developers.google.com/pay/api/web/guides/test-and-deploy/integration-checklist
- Web Brand Guidelines: https://developers.google.com/pay/api/web/guides/brand-guidelines
- APIs Acceptable Use Policy: https://payments.developers.google.com/terms/aup
- API Terms of Service: https://payments.developers.google.com/terms/sellertos
When you are ready, ensure the following:
- Create an account with Moyasar, if you haven't already.
- Ensure to have your Moyasar API Keys ready.
Create Your Google Pay Merchant Profile
Follow this guide to set up your merchant profile and acquire your merchantId from Google.
Add Your Website To Google Wallet
Follow this guide to accept Google Pay payments from your website.
Ensure you select Gateway as the integration type.
Initialize The Moyasar Form
Follow our basic integration guide to successfully show the web form.
info
Moyasar only accepts CRYPTOGRAM_3DS type of authorization method.
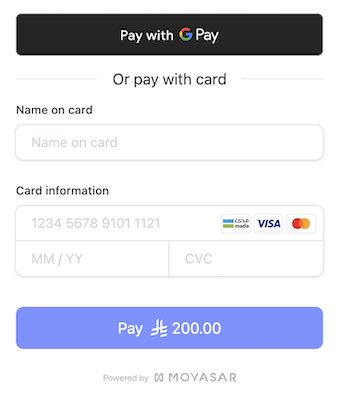
Add the following configuration to show the Google Pay button:
Moyasar.init({
  element: '.mysr-form',
  amount: 1000,
  currency: 'SAR',
  description: 'Coffee Order #1',
  publishable_api_key: 'YOUR_PUBLISHABLE_API_KEY',
  callback_url: 'https://moyasar.com/thanks',
  supported_networks: ['visa', 'mastercard', 'mada', 'unionpay'],
  methods: ['creditcard', 'googlepay'], // Add Google Pay Method
  google_pay: {
    // Add Google Pay Config
    merchant_id: 'MERCHANT_ID',
    country: 'SA',
    label: 'MERCHANT_NAME',
    environment: 'PRODUCTION',
  },
  on_completed: async function (payment) {
    await savePaymentOnBackend(payment);
  },
});
You are now ready to accept Google Pay payments.