Website logo
Create AccountSign In
⌘K
Moyasar Documentation
Payments
Credit Card
Apple Pay
STC Pay
Tokenization
Payment Errors
Form Configuration
Payouts
Invoices
Creating invoices
Mobile SDKs
iOS SDK
Android SDK
Flutter SDK
Hosted Checkout
E-Commerce Plugins
WooCommerce
PrestaShop
NopCommerce
OpenCart
Magento2
Testing
Testing Cards
Apple Pay Testing
Custom Payments
Credit Cards
STC Pay
Apple Pay on Websites
Apple Pay on Apps
Tokenized Cards
Dashboard
Apple Pay Using Developer Account
Apple Pay Using Web Registration
Get Your API Keys
Setting up your IP whitelist
Setting up Webhooks
API
Introduction
Authentication
Pagination
Metadata
Payments
Payouts
Invoices
Tokens
Apple Pay
Webhooks
Errors
Support
Help Desk
Docs powered by Archbee
Mobile SDKs

iOS SDK

17min

Overview

This guide will walk you through a straightforward solution to accept payments within your iOS application. The iOS SDK is a small framework built with SwiftUI that allows you to quickly and safely integrate Moyasar payments within your SwiftUI or UIKit apps.

Installing CocoaPods

Before you can add the library to your project, you need to install CocoaPods on your macOS using the following command:

Shell
brew install cocoapods


Or as a Ruby gem

Shell
gem install cocoapods


Add the Dependency

If you haven't already added CocoaPods to your project, initialize it with:

Shell
pod init


Now add the following pod to your Podfile:

Ruby
pod 'MoyasarSdk', git: 'https://github.com/moyasar/moyasar-ios-pod.git'


Make sure to add use_frameworks!

Configurations

Before using the library, make sure to set your API key:

Swift
import MoyasarSdk

try! Moyasar.setApiKey("pk_live_1234567")


An error will be raised when the key format is incorrect.

Apple Pay Payments

You can follow Offering Apple Pay in Your App to implement Apple Pay within your app.

When the user authorizes the payment using Face ID or Touch ID on their iOS device, the didAuthorizePayment event will be dispatched. In this step, you must pass the token to ApplePayService found within the PKPayment object. Here is an example:

Swift
let payment: PKPayment = // Payment object we got in the didAuthorizePayment event

let service = ApplePayService() // From MoyasarSdk
service.authorizePayment(request: request, token: payment.token) {result in
    switch (result) {
    case .success(let payment):
        handleCompletedPaymentResult(payment)
        break
    case .error(let error):
        handlePaymentError(error)
        break
    @unknown default:
        // Handle any future cases
        break
    }
}

func handleCompletedPaymentResult(_ payment: ApiPayment) {
        // ...
    }
    
func handlePaymentError(_ error: Error) {
        // Handle all MoyasarError enum cases
    }


Don't forget to import PassKit and MoyasarSdk.

Credit Card Payments

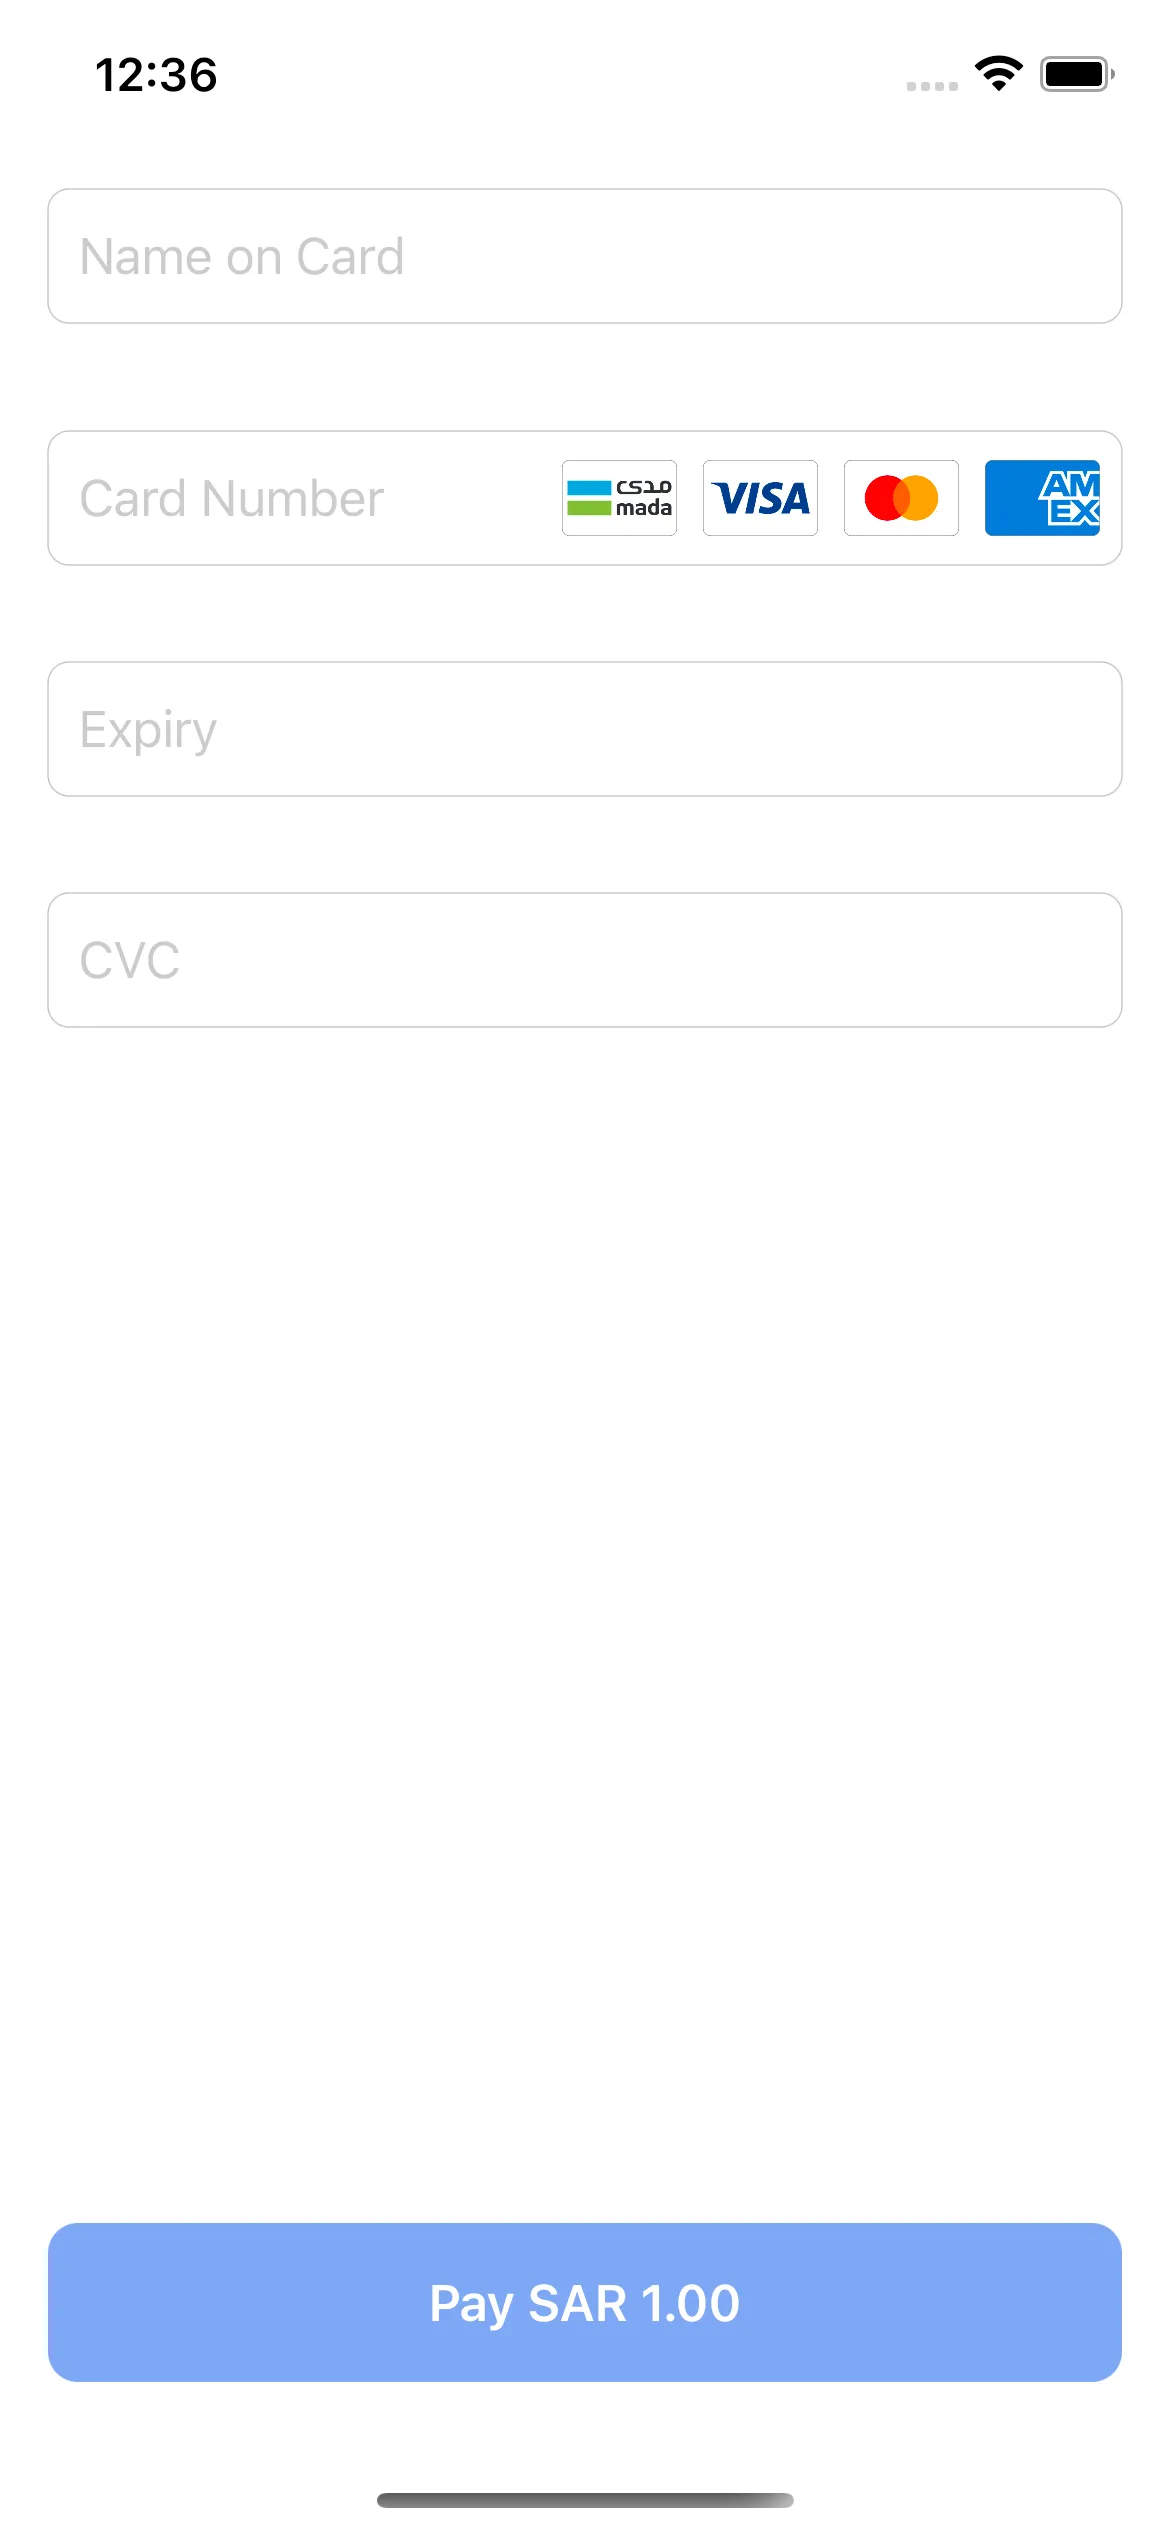
The SDK provides a SwiftUI view called CreditCardView that allows you to easily create a credit card form, here is an example. But first, we need to prepare a PaymentRequest object:

Swift
let paymentRequest = PaymentRequest(
    amount: 1000,
    currency: "SAR",
    description: "Flat White",
    metadata: ["order_id": "ios_order_3214124"],
    manual: false,
    saveCard: false
)


SwiftUI Credit Card Payments

We can add the CreditCardView to our view as follows:

Swift
struct ContentView: View {
    func handlePaymentResult(_ result: PaymentResult) {
        // ...
    }
    
    func handleCompletedPaymentResult(_ payment: ApiPayment) {
        // ...
    }
    
    func handlePaymentError(_ error: Error) {
        // Handle all MoyasarError enum cases
    }

    var body: some View {
        CreditCardView(request: paymentRequest, callback: handlePaymentResult)
    }
}


UIKit Credit Card Payments

If you are using UIKit you will need to create a wrapper to host the SwiftUI CreditCardView view:

Swift
    func makeCreditCardView() {
        let creditCardView = CreditCardView(request: paymentRequest, callback: handlePaymentResult)
        
        let creditCardHostingController = UIHostingController(rootView: creditCardView)
        creditCardHostingController.view.translatesAutoresizingMaskIntoConstraints = false
        
        addChild(creditCardHostingController)
        view.addSubview(creditCardHostingController.view)
        creditCardHostingController.didMove(toParent: self)
        
        NSLayoutConstraint.activate([
            creditCardHostingController.view.topAnchor.constraint(equalTo: view.topAnchor),
            creditCardHostingController.view.leadingAnchor.constraint(equalTo: view.leadingAnchor),
            creditCardHostingController.view.widthAnchor.constraint(equalTo: view.widthAnchor),
            creditCardHostingController.view.heightAnchor.constraint(equalTo: view.heightAnchor)
        ])
    }
    
    
    func handlePaymentResult(_ result: PaymentResult) {
        // ...
    }
    
    func handleCompletedPaymentResult(_ payment: ApiPayment) {
        // ...
    }
    
    func handlePaymentError(_ error: Error) {
        // Handle all MoyasarError enum cases
    }


Don't forget to import SwiftUI.


iOS SDK Dark Arabic
iOS SDK Dark Arabic

iOS SDK Light English


Handling Result

Now, we can handle the result as follows:

Swift
func handlePaymentResult(result: PaymentResult) {
    switch (result) {
    case .completed(let payment):
        handleCompletedPaymentResult(payment)
        break
    case .failed(let error):
        handlePaymentError(error)
        break
    case .canceled:
        // Handle cancel Result
        break
    @unknown default:
        // Handle any future cases
         break
    }
}

func handleCompletedPaymentResult(_ payment: ApiPayment) {
        // ...
}
    
func handlePaymentError(_ error: Error) {
        // Handle all MoyasarError enum cases
}


'Completed' payment doesn't necessarily mean that the payment is successful. It means that the payment process has been completed successfully. You need to check the payment status as follows to make sure that the payment is successful.

Make sure to handle the screen navigation after getting the result.

The payment status could be paid or failed, we need to handle this:

Swift
func handleCompletedPaymentResult(_ payment: ApiPayment) {
    switch payment.status {
    case "paid":
        // Handle paid!
        break
    default:
        // Handle other status like failed
    }
}


Objective-C Integration

Setup a Swift file for handling payments as described in:

  • Apple Pay Payments
  • Credit Card Payments
  • UIKit Credit Card Payments
  • Handling Result

After that, you can initialize the Swift payments class when processing payments.

Learn more about integrating Swift files in Objective-C apps: https://developer.apple.com/documentation/swift/importing-swift-into-objective-c

Checkout APIs Documentation

  • https://moyasar.github.io/moyasar-ios-sdk/documentation/moyasarsdk

Checkout Demo Examples

  • https://github.com/moyasar/moyasar-ios-sdk


Updated 25 Nov 2023
Did this page help you?
PREVIOUS
Creating invoices
NEXT
Android SDK
Docs powered by Archbee
TABLE OF CONTENTS
Overview
Installing CocoaPods
Add the Dependency
Configurations
Apple Pay Payments
Credit Card Payments
SwiftUI Credit Card Payments
UIKit Credit Card Payments
Handling Result
Objective-C Integration
Checkout APIs Documentation
Checkout Demo Examples
Docs powered by Archbee